
Step 1
- Open Blender (a new scene is automatically created)
- Select all default assets in the scene and press delete
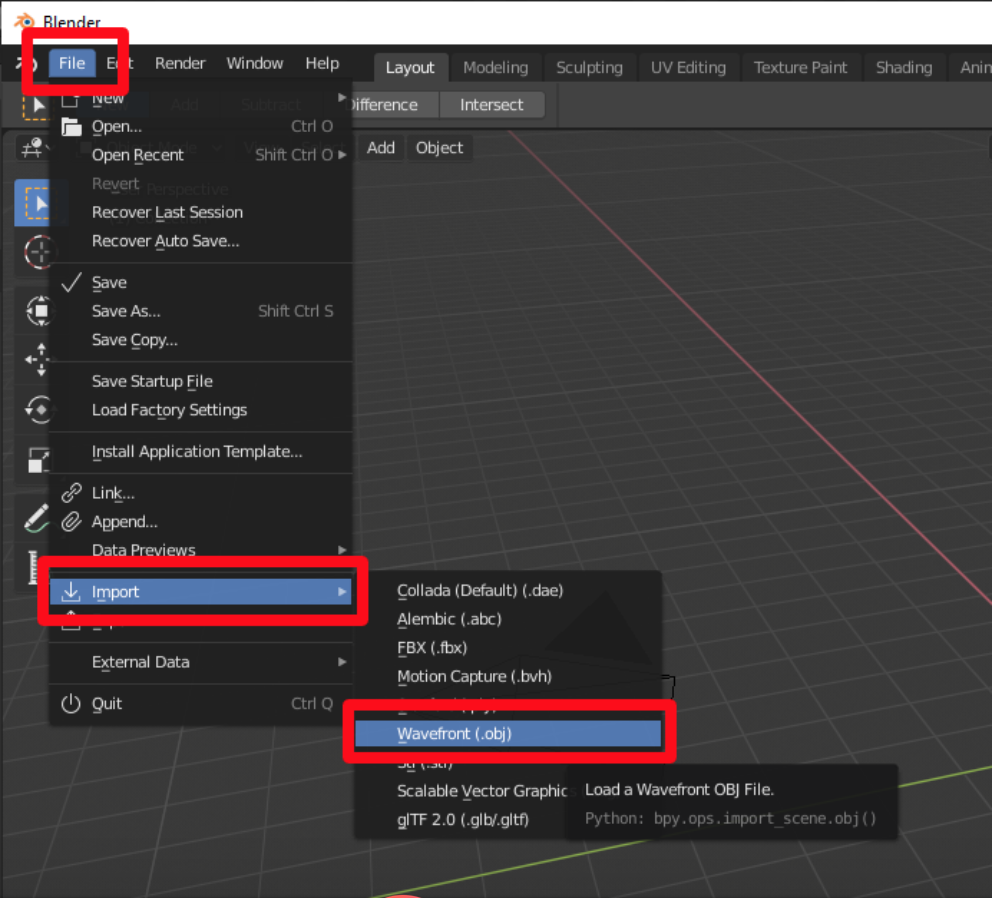
Step 2
Click File>Import>Wavefront (.obj)
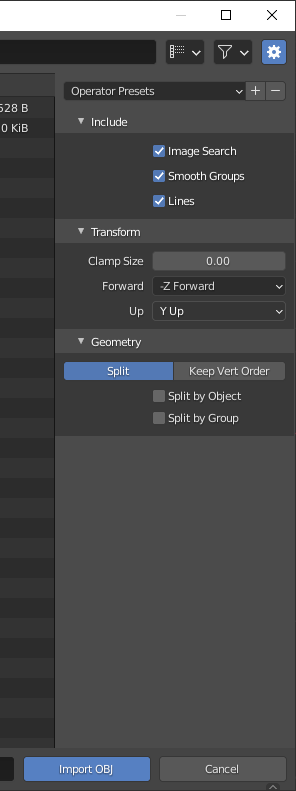
Step 4
Before clicking the Import .obj button (see screenshot below), ensure you:
- Deselect the Split by Object and Split by Group checkboxes under the Geometry title in the right-side menu
- Select the Image Search, Smooth Groups and Lines checkboxes under the Include title
- Then click Import .obj
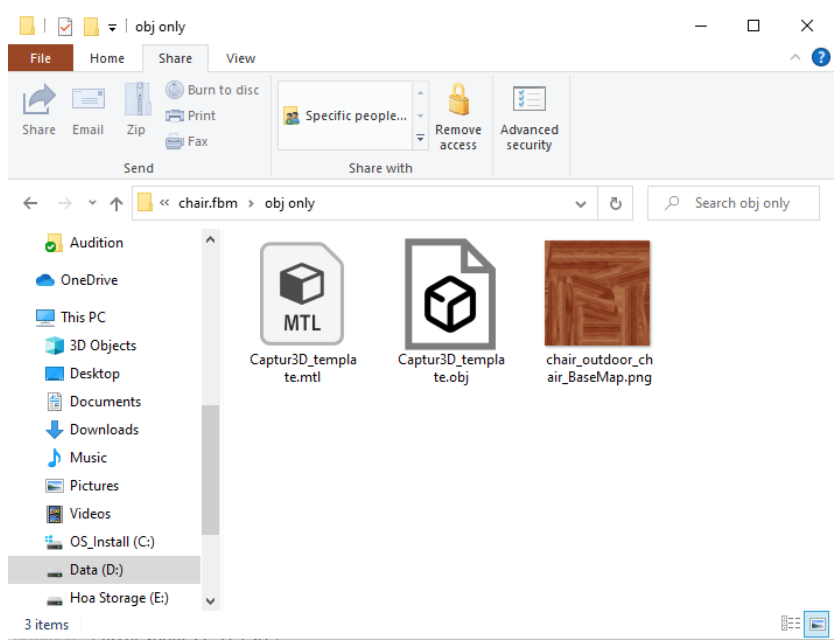
Note: Once imported, in the folder that contains the OBJ file on your computer, it should only contain the .obj file, .mlt file and texture file. If not, the OBJ file will link the wrong texture to the asset. Please see example file folder below:
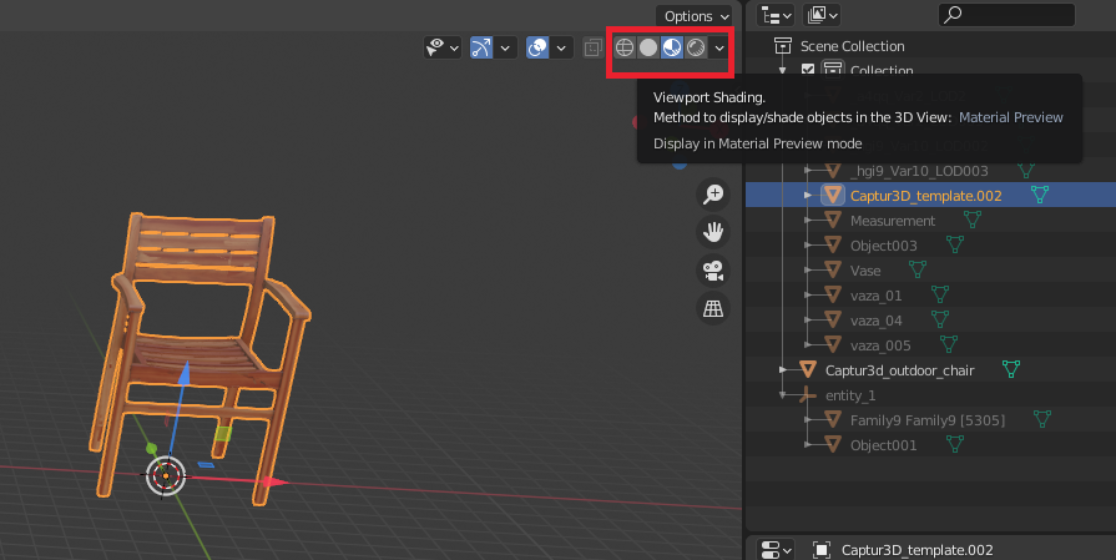
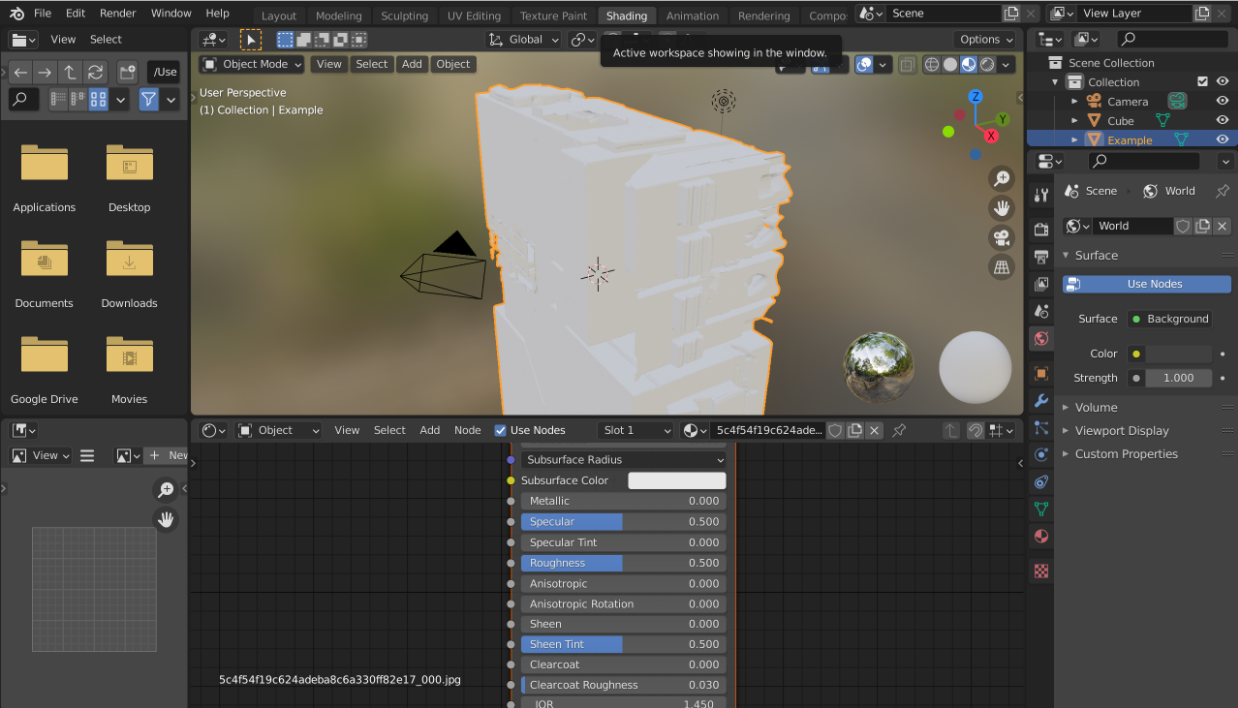
Step 5
To ensure the texture is correctly linked to the asset, select through the Viewpoint Shading options (icons shown in the screenshot below):
If the textures don't link correctly, select the entire object and then click the Shading tab at the top row of the Blender interface:
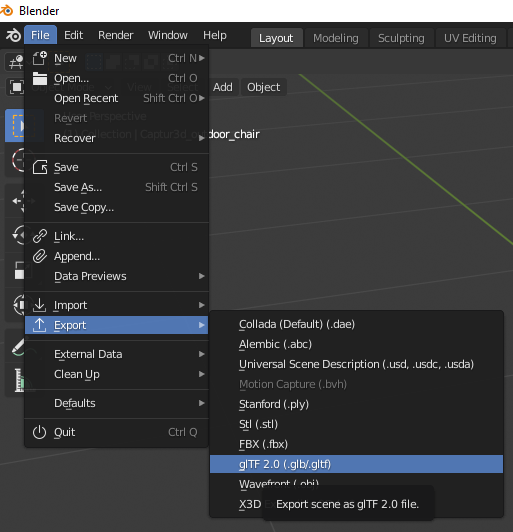
Step 5
Select the entire desired object(s) you wish to export and click File>Export>glTF 2.0. (glb / .gltf)
Step 6
Under the Format title on the right side menu, select glTF Binary(.glb) for a glb file, OR glTF Separate(.gltf + .bin + .textures) for a gltf file which will be seen as a gltf, jpg and bin file. Then click Export

Comments
0 comments
Please sign in to leave a comment.